
Validating and submitting the Workflow documents
Unsubmitted Workflow items can be worked on from the item list and opened in the item viewer once they are acquired successfully. Various operations can be performed on Workflow items while working with them in the item viewer such as editing fields, adding annotations, page manipulation, submit one or more unsubmitted items, etc.
Watch the video to learn how to validate the Workflow item before submitting it to the Workflow.
The below screen displays the various options available in the Item viewer for validating the Workflow item.
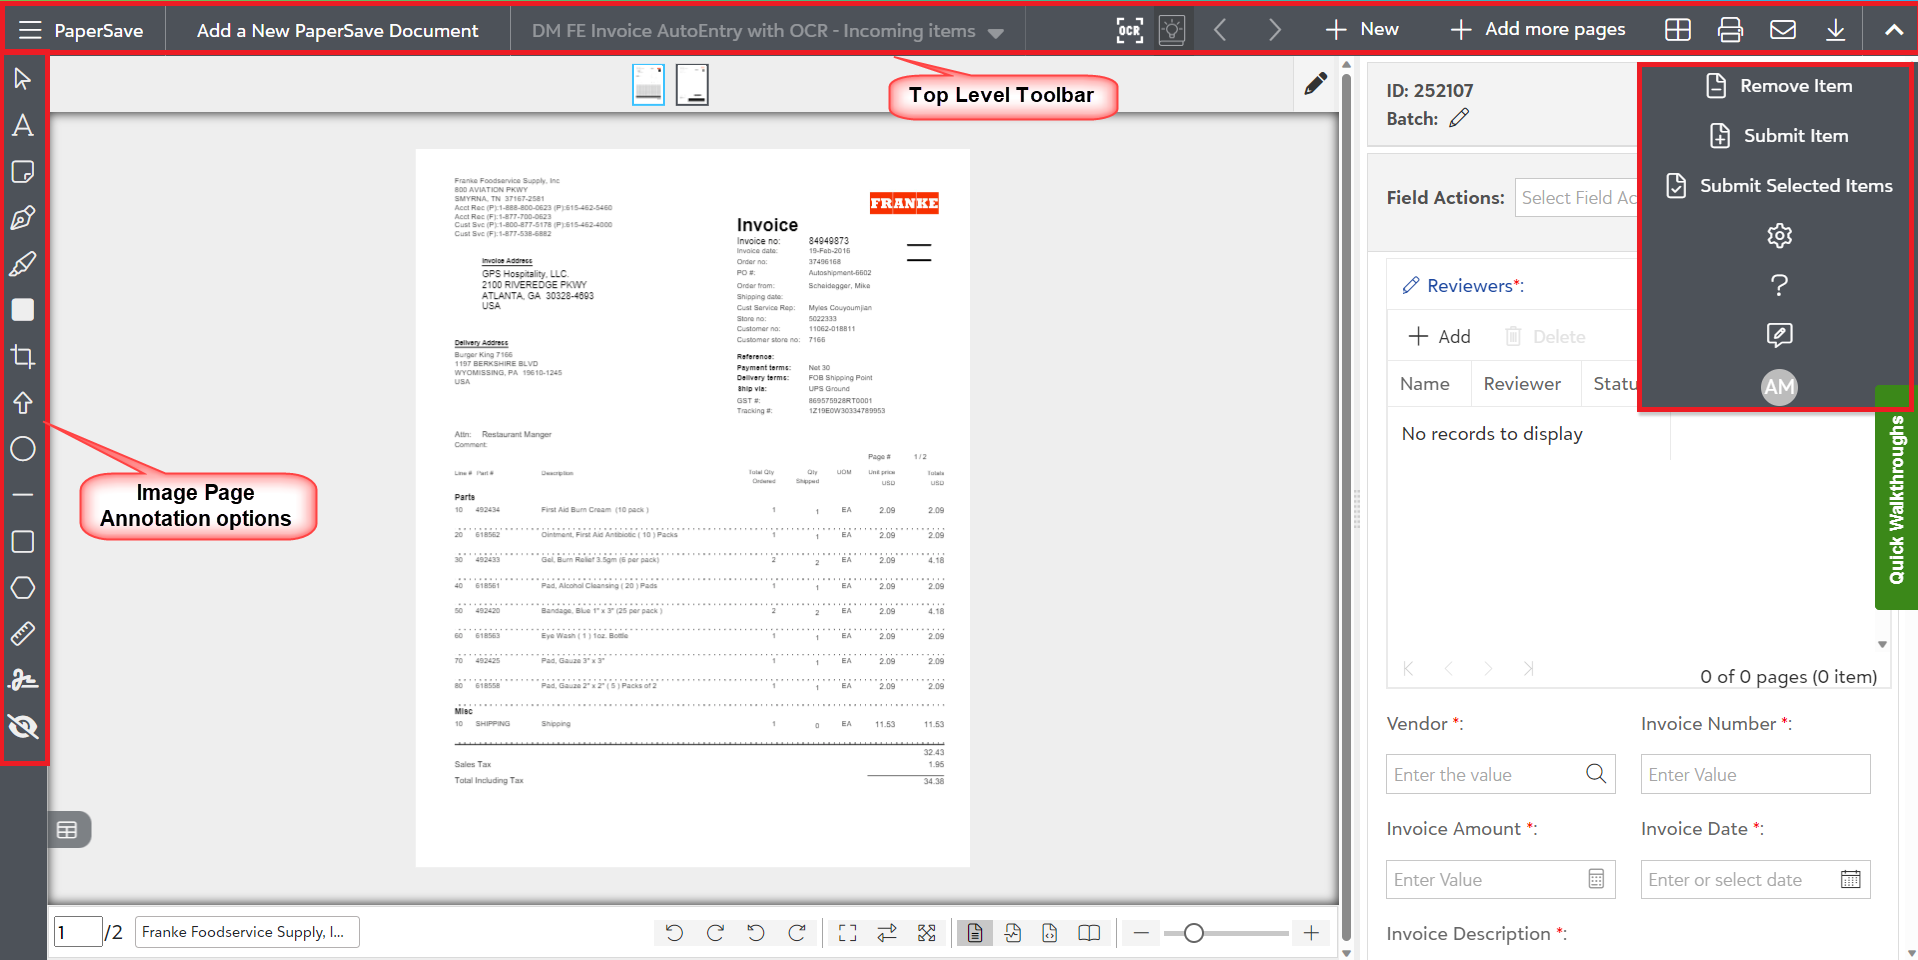
The following is the description of various options available to validate the Workflow item in the Workflow Area:
1) Top level toolbar options in the Item viewer for unsubmitted items:
The following are the options in the top level toolbar of item viewer for unsubmitted items:
-
 : Click on this option to navigate to the previous unsubmitted item. It will be disabled if there is no previous item.
 -
 :Click on this option to navigate to the next unsubmitted item. It will be disabled if there is no next item.
 -
 : Click on this option to switch to File capture options panel to acquire a new document.
 -
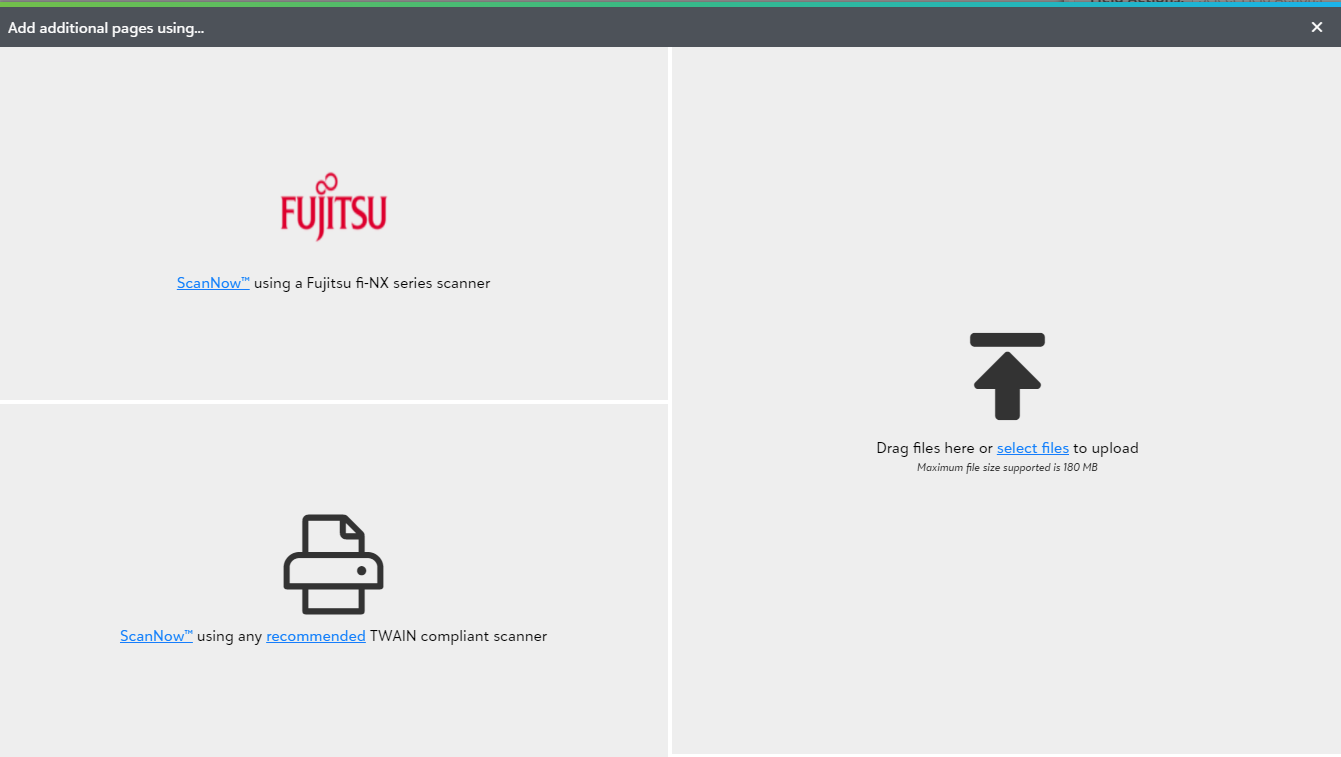
 : Click on this option to add more pages to the current document. clicking on this option will display the following "Add additional pages" prompt.
-
 : This option will navigate you to the Page Manipulation View for unsubmitted items in the Workflow Area where you can perform various operations such as cut, copy, paste, rotate, etc. on the unsubmitted items. Click here to know more about Page Manipulation View.
 -
 : Click on this option to print the current document.
 -
 : Click on this option to share the item via email. Currently, this feature is not yet implemented.
 -
 : Click on this option to download the current document.
 -
 : Click on this option to process OCR on the items. Using this option will override the current profile field values.
 -
 : Click on this icon to use the OCR learn by fingerprint or learn by key feature.
 -
 : Click on this option to discard the current item.
 -
 : Click on this option to submit the current unsubmitted item.
 -
 : Click on this option to submit items selected in the unsubmitted item list.
2) Using Image page options(Annotations) for Unsubmitted items
You can add different annotations using the Image page options toolbar on the left-hand corner of the screen. Click here to know more about it.
3) Item Viewer Settings panel for unsubmitted items
Watch the video to learn the Item Viewer Settings options for unsubmitted items.
-
 : Click on this option to define your preferences in the Settings panel in Item viewer for unsubmitted items:
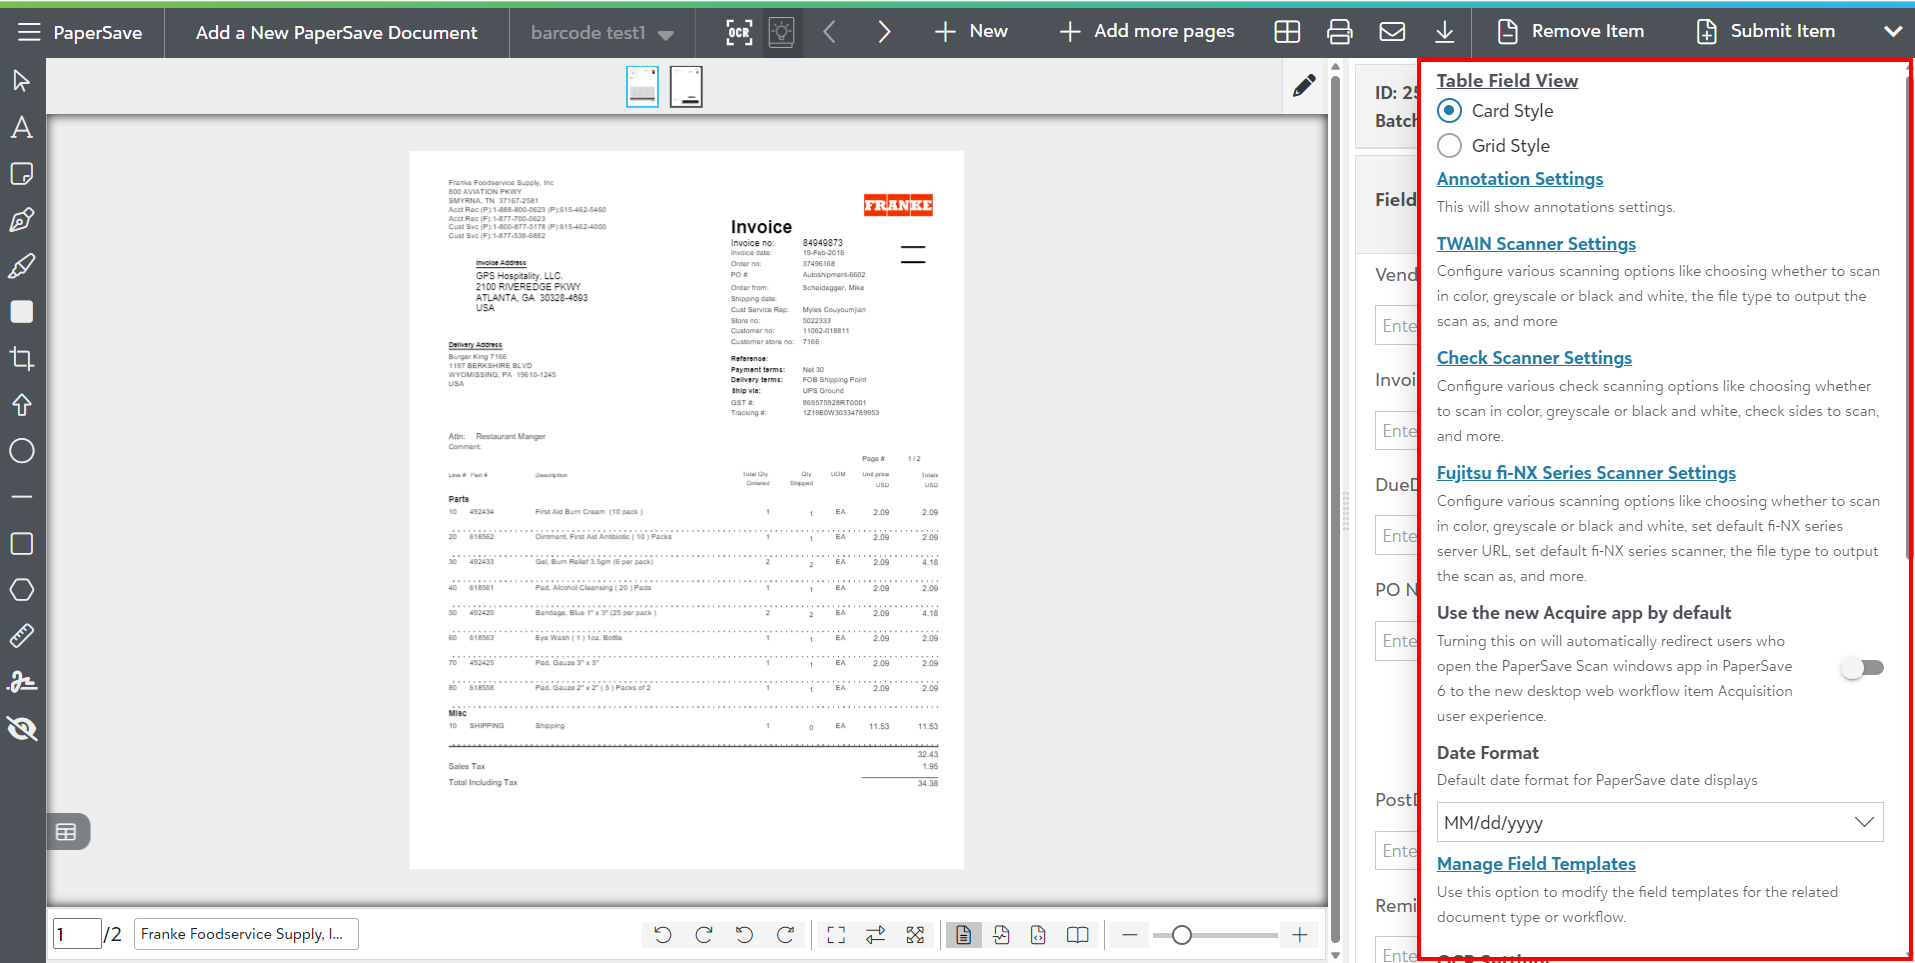
The following is the brief description of various preferences in the Settings panel:
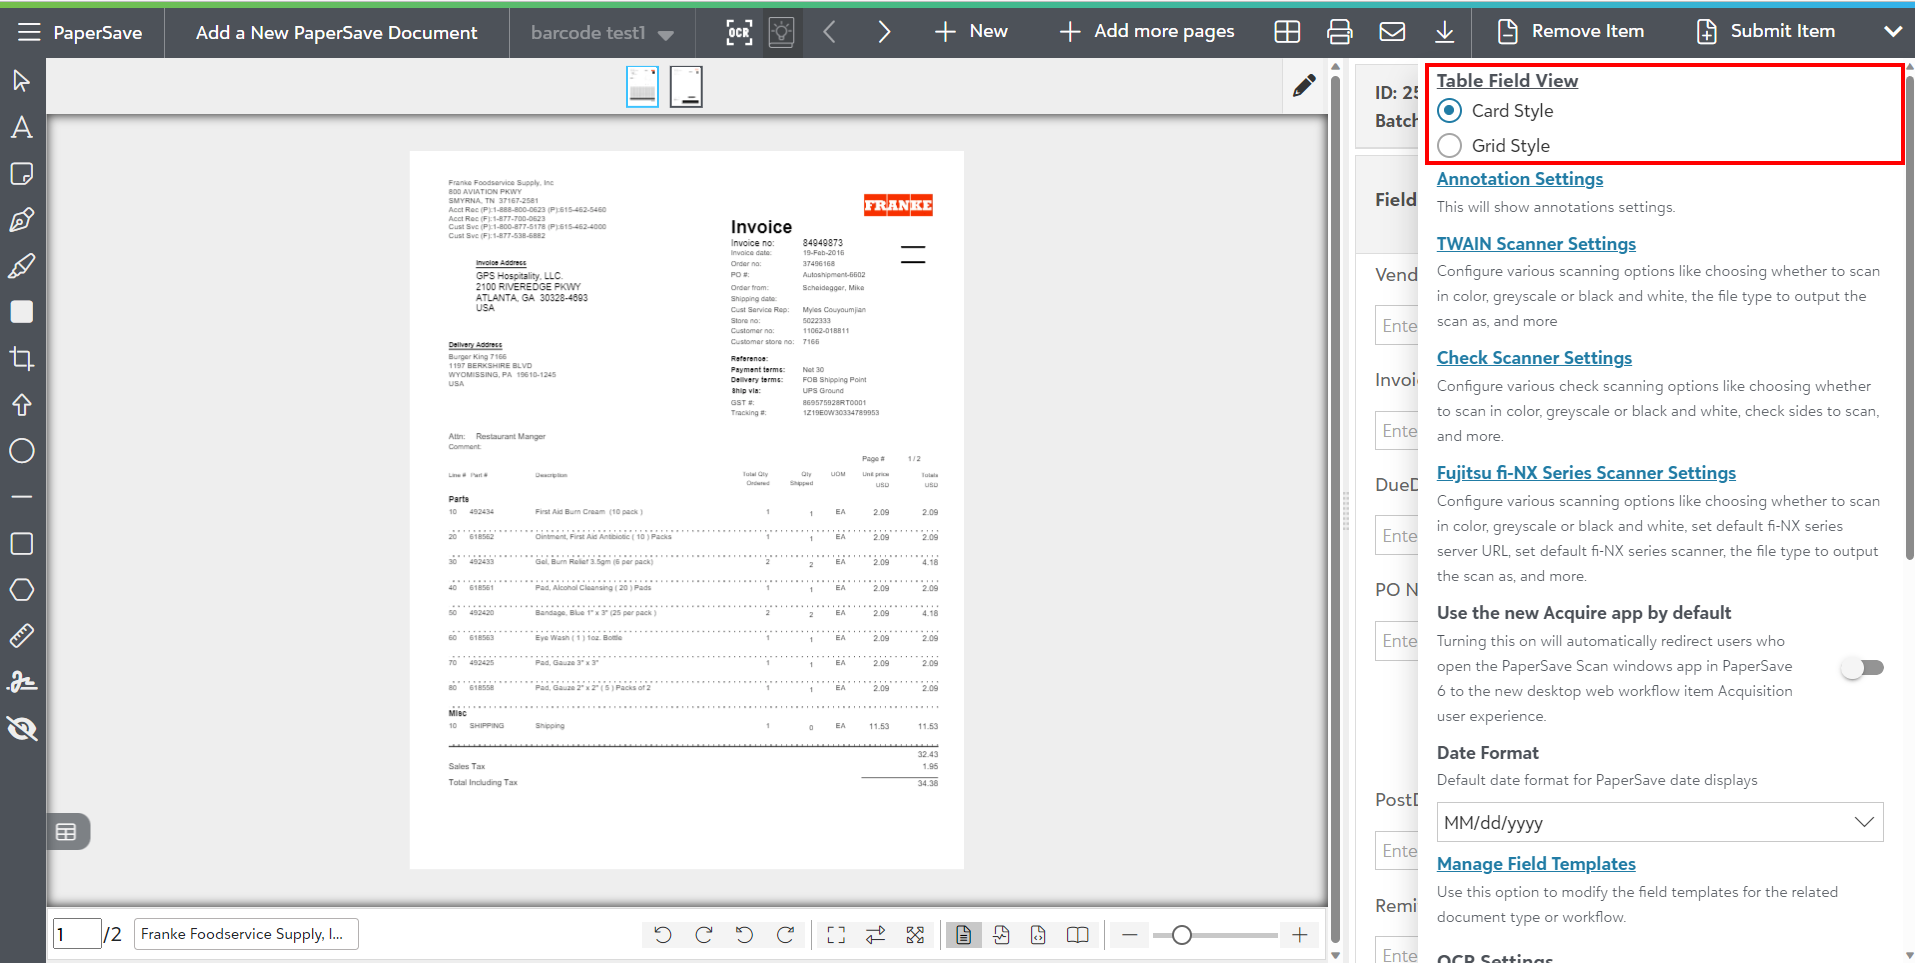
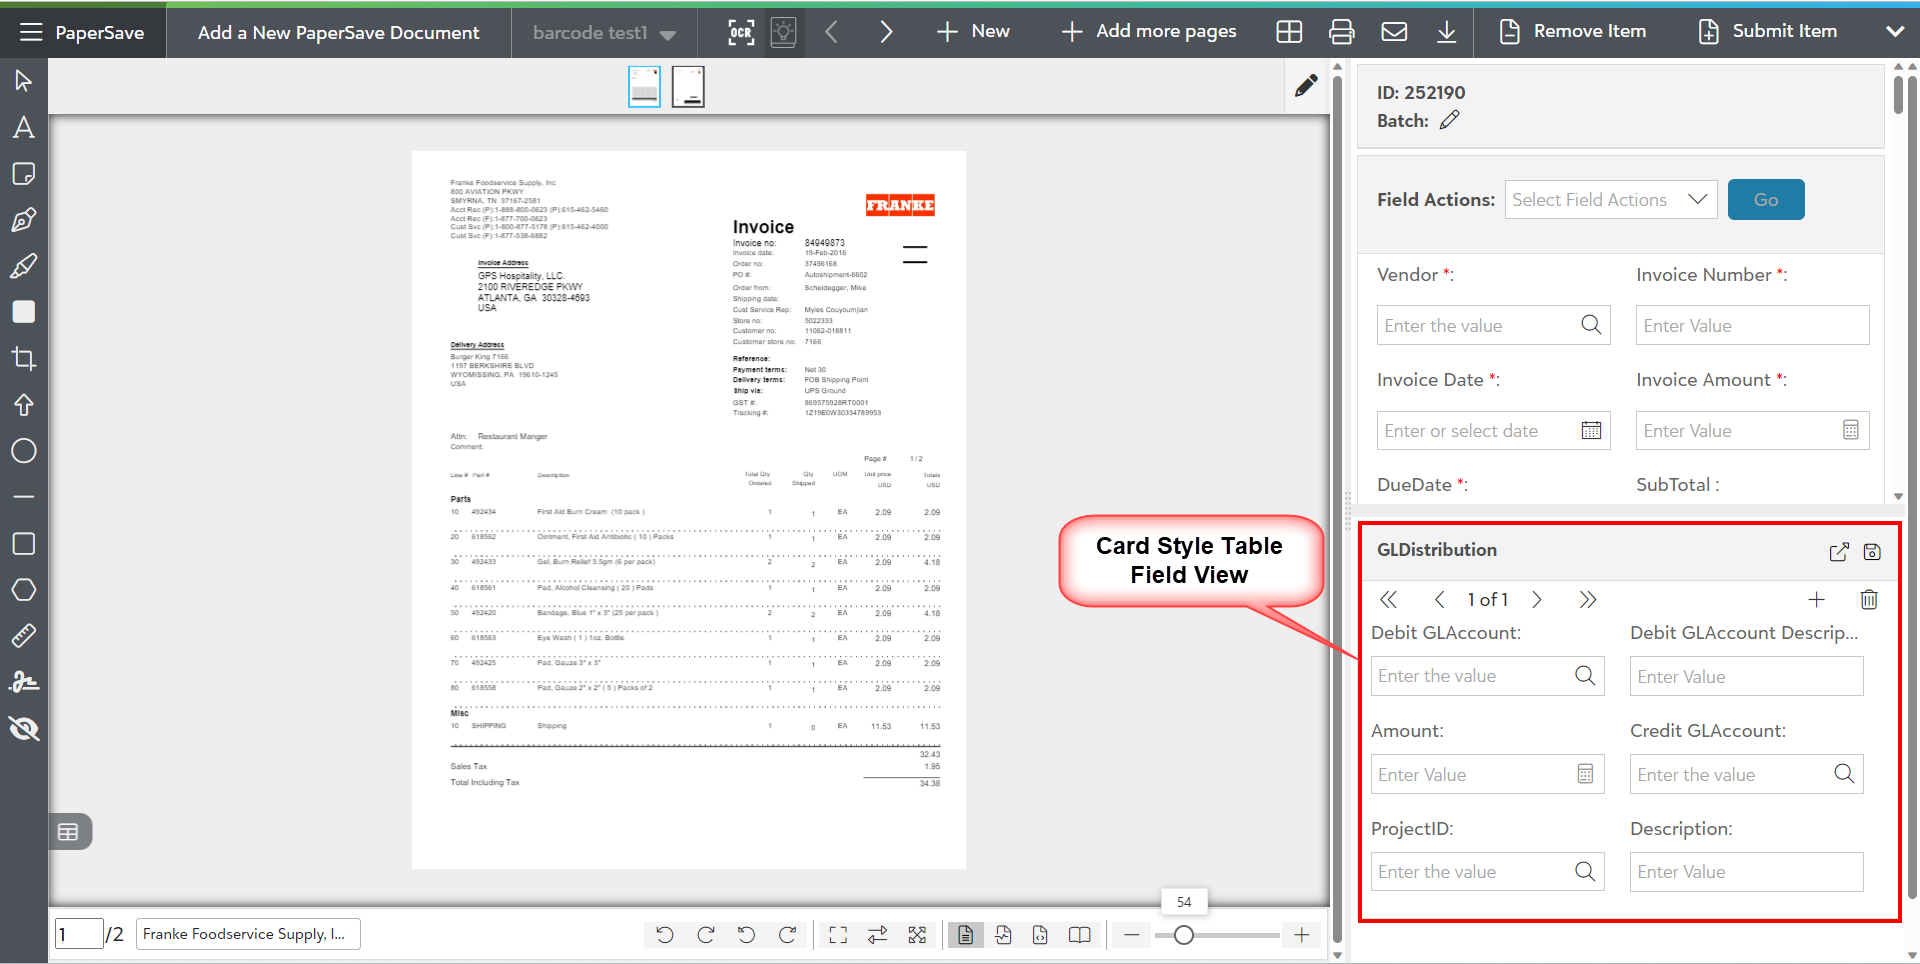
a) Table Field View
PaperSave offers a widget with two different user interfaces (card style and grid style) for the table type fields in the document profile field panel. Card style is set as the default option.
a) Card Style : It switches the "table type field" widget to a card style view.
- Select the Card style option in the Table field view Settings, as shown below:
- You will see "Card Style view" for the Table type fields in the document profile field panel while editing the field as shown below.
b) Grid Style: It switches the "table type field" widget to Grid style view.
- Select the Grid style option in the Table field view Settings as shown below:
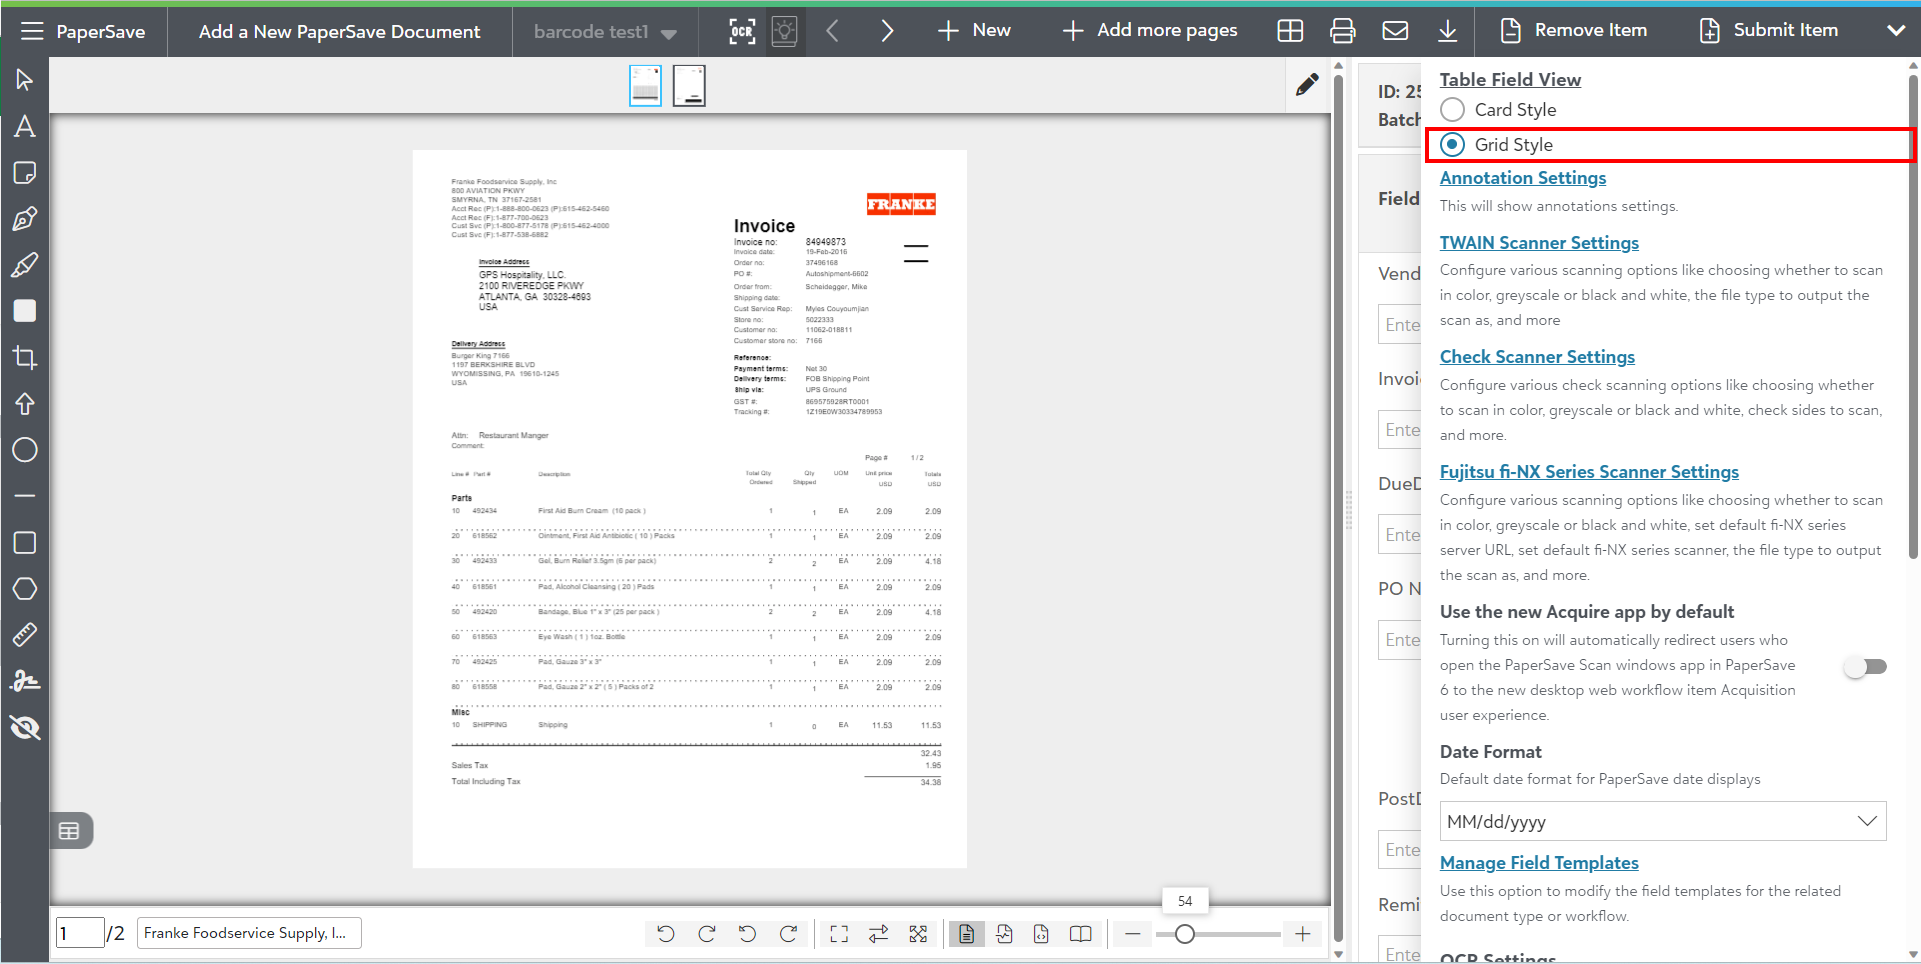
- You will see "Grid Style view" for the Table type fields in the document profile field panel as shown below.

b) Annotation Settings
This Setting option enables you to adjust the following preferences for each annotation tool in the Workflow Item Viewer.
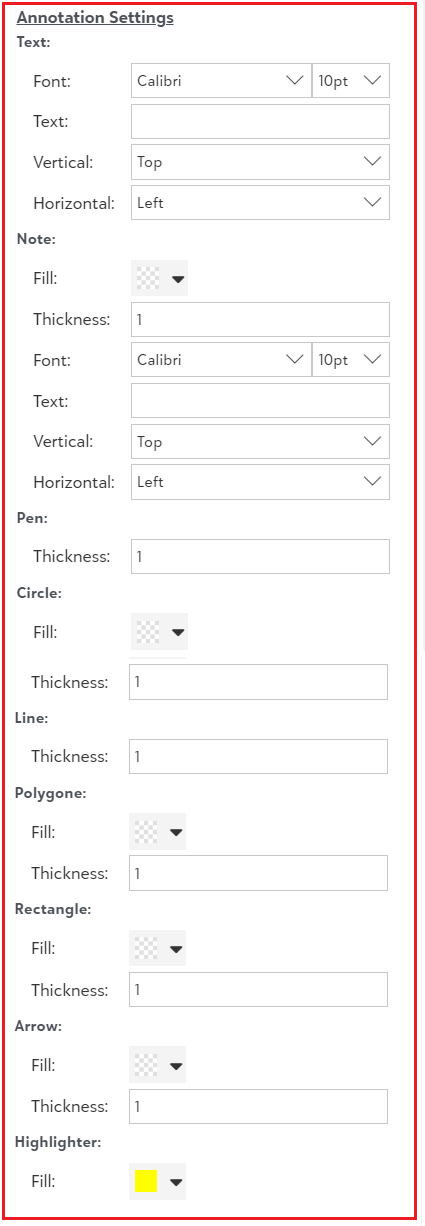
Text, Note: Select font, font size, default text, vertical and horizontal alignment.
Pen, Circle, Line, Polygon, and Arrow: Select the thickness and color.
Highlighter: Select the color.
c) Twain Scanner Settings
This Setting option enables you to configure the following scanner related preferences as shown below:
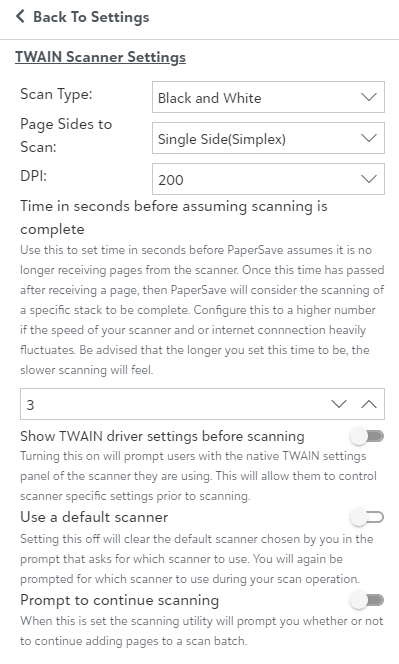
- Scan Type
Black & White, Gray Scale, Color
Tip: We highly recommend using the Black and White scan option as it uses the least amount of disk storage space and yields the fastest processing.
- Page Sides to Scan
- Single Side
- Both sides
Note: If your scanner supports skipping or ignoring blank page, then we recommend you setting the Page Scan options to Scan Both sides(Duplex).
- DPI ( Dots per inch)
The smaller the DPI number, the less sharp the image will appear. However, size of the image will increase as you increase the DPI number.
Note: We recommend that you use 300 DPI.
- Show TWAIN driver settings before scanning
Turning this on will prompt users with the native TWAIN settings panel of the scanner they are using. This will allow them to control scanner specific settings prior to scanning.
- Use a default scanner
Setting this off will clear the default scanner chosen by you previously, and you will be prompted for which scanner to use. You will again be prompted for which scanner to use during your scan operation.
- Prompt to continue scanning
When this option is set the scanning utility will prompt you whether or not to continue adding pages to a scan batch.
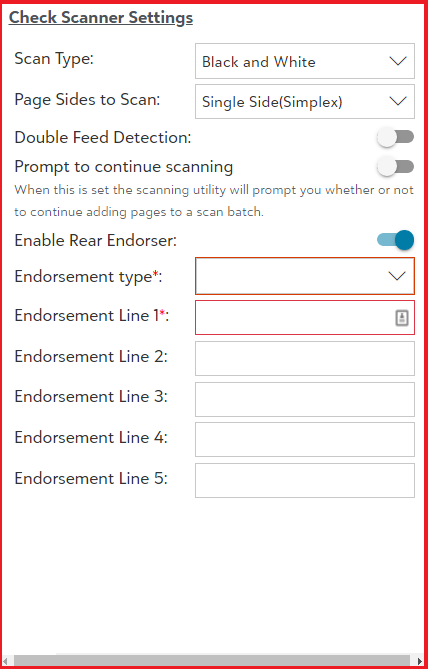
d) Check Scanner Settings
This Setting option enables you to configure the following check scanner related preferences as shown below:
- Scan Type
Black & White, Gray Scale, Color
Tip: We highly recommend you to use Black and White scan option as it uses the least amount of disk storage space and yields fastest processing.
- Page Sides to Scan
- Single Side (Simplex)
- Both Sides
Note: We recommend you setting the Page Scan Options to Scan Both Sides (Duplex) if your scanner supports skipping or ignoring blank page.
- Prompt to continue scanning :
When this option is set the scanning utility will prompt you whether or not to continue adding pages to a scan batch.
- Enable Rear Endorser :
This option allows the user to enable and disable the rear endorsement for the checks. The endorsement can be virtual or physical, depending on your check scanner.
- Endorsement Type:
This option will define if the rear endorsement is printed on the physical check or on the image of the check in the gift item document. You can select one or both options.
- Endorsement Line 1 to Endorsement line 5:
This sets the lines you want printing (virtually or physically) on the back of checks. This option requires on the Enable Rear Endorser option to be turned on.
Note: Your check scanner must support this feature for using Rear endorser options.
e) Fujitsu fi- NX Series Scanner Settings
This Setting option enables you to configure the following Fujitsu fi-NX scanner related preferences, as shown below:

- Scan Type
Black & White, Gray Scale, Color
Tip: We highly recommend you to use Black and White scan option as it uses the least amount of disk storage space and yields fastest processing.
- Page Sides to Scan
- Single Side
- Both sides
Note: We recommend etting the page scan options to scan both sides (Duplex) if your scanner supports skipping or ignoring blank page.
- Use a default fi-NX scanner
Setting this off will clear the default fi-NX scanner chosen by you in the prompt that asks for which scanner to use. You will again be prompted for which scanner to use during your scan operation.
- Prompt to continue scanning:
When this option is set the scanning utility will prompt you whether or not to continue adding pages to a scan batch.
f) Use the new Acquire app by default: Turning this on will automatically redirect users who open the PaperSave Scan windows app in PaperSave 6 to the new desktop web workflow item Acquisition user experience.
g) Date Format
This option enables the user to change the default date format. By default it is MM/dd/yyyy.
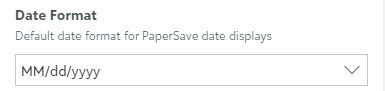
You can define the desired preferences to any of the following date format options.
- MM-dd-yyyy
- MM/dd/yyyy
- dd-MM-yyyy
- dd/MM/yyyy
- yyyy-MM-dd
Once any of the above date format is selected, it should save/update the new date format for that user upon exiting of the Settings menu.
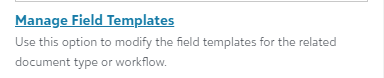
h) Manage Field Templates
User this option to modify the field templates for the related document type or workflow.
i) OCR Settings:
This Setting option enables you to configure OCR-related preferences in the Workflow item viewer, as follows. Set the preference to use the drag or click action to correct the profile fields values on items processed by OCR.
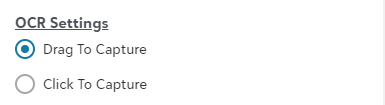
- Drag to Capture: Choose this option to capture the value from the document and drag that selected value to desired document profile field.
- Click to Capture: Choose this option to capture the value from the document and click on the desired document profile field to auto-fill the captured value.
Note: The Click/Drag to Capture options will only be applicable for documents processed by OCR.
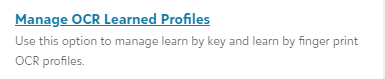
j) Manage OCR Learned Profiles
You can use this option to manage the OCR learn by key and learn by finger print OCR profiles.
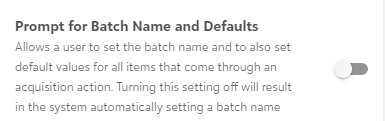
k) Prompts for Batch Name and Defaults
Enabling this option turns on the prompt for batch and field defaults. The prompt is on by default but can be turned off by selecting the checkbox labeled "Don't ask me again" in the “Set Batch and Field Defaults” dialog. Turning this setting off will result in the system automatically setting a batch name. Similarly, Setting the option ON restores the prompt.
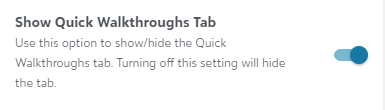
l) Show Quick Walkthrough Tab
Use the toggle button to show/hide the green Quick walkthroughs on the screen.
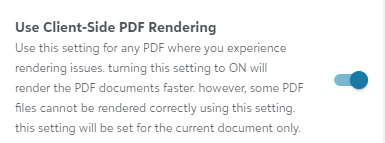
m) Use Client-Side PDF Rendering
“Use Client-Side PDF Rendering” option within the item viewer’s settings panel which on enabling helps to load the PDF document faster than the Server-side rendering. For more details, refer to Client-Side Rendering.
Review and edit Profile fields
The field panel in located at the right-side of the item viewer with various fields related to document type or Workflows. The field data can be automatically captured via Optical Character Recognition (OCR) technology, looked up against values in Dynamics GP's database (using SQL) or entered in manually. Fields that are captured via OCR will show a percentage value in parentheses next to the field label. This percentage represents the confidence that the OCR engine has in the value it captured. The more exact the match , the higher the confidence score.
It is recommended that you double-check and validate all values captured by OCR. Still it would be best to focus on validating all the values with a low confidence score. If the auto field values are incorrect or inaccurate, then you can edit such profile fields manually or use the drag to capture tool to automatically select text from the document, drag, and then drop it on the field.
The fields will vary across different Workflows and document type defined in the Configuration Area. For Example - A date field value will have a date picker widget to enter the date value. It can be modified manually such as in cases where the OCR may not have captured the right date.
Similarly, based on the Workflow fields properties, some fields such as vendor, PO Number, etc can be looked up against the Dynamics 365 Finance's database using different properties. For amount related fields such as Invoice amount, you can optionally use the calculator widget to perform desired calculations and determine the amount. The value of this field is defaulted to the amount captured by OCR in case if the document went through OCR processing successfully.
You can default the view as Card style view or Grid style view in Table Type fields such as Line items, distribution, Purchase Receipt Line, etc. This preference can be defined in the settings panel.
Note: The fields in the Workflow item field panel may vary based on the user's access rights across different Workflows.
Correcting fields using Drag to Capture tool
The Drag to Capture tool  allows you to hover over a word, grab onto it, and drag it over a field and let go to drop that word into the field. This option is available on the top-level toolbar of unsubmitted item viewer. You can capture (which draws a highlighted area around the selected text) multiple words, grab onto them, and drag them over a field to drop all those words into the field. This is a very useful tool to validate and correct values that were not captured correctly by OCR or to help make manual entry more efficient.
Note: This option is only applicable for documents or items that successfully went through the OCR process.